.png)
Create a new workspace
You can create a new workspace from the New Workspaces box on your PortalTalk Dashboard | New Workspaces..
You can also create a new workspace from the category in which the workspace is to be created.
The choices you have made in the workspace creation process, can be adjusted later by the workspace owner.
You require specific permissions within a workspace category to create a workspace.
In addition to being able to create workspaces in the category yourself, all workspace requests submitted within the category are also addressed to you for review and approval.
Create a new workspace from your activity dashboard
-
Select the navigation option Activities to go to your activity dashboard.
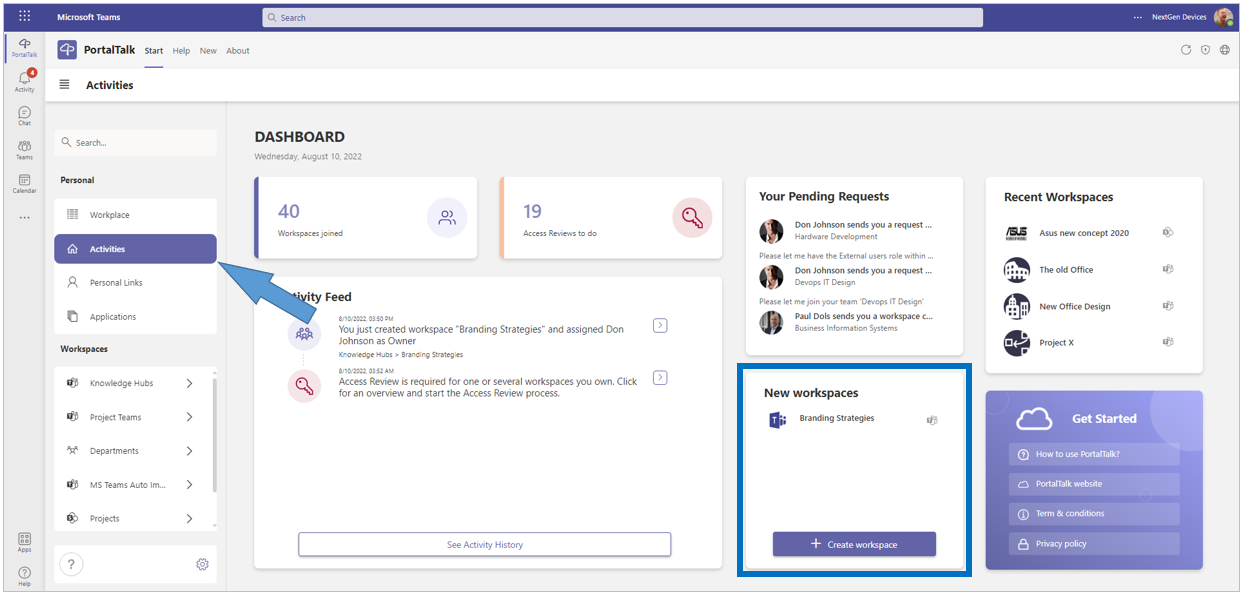
The New workspaces box displays a list of the workspaces most recently created or requested by you.
Depending on your permissions, you can also, from this box, create a new workspace or submit a request for a new workspace.
-
In the New workspaces box, click the option +Create workspace.
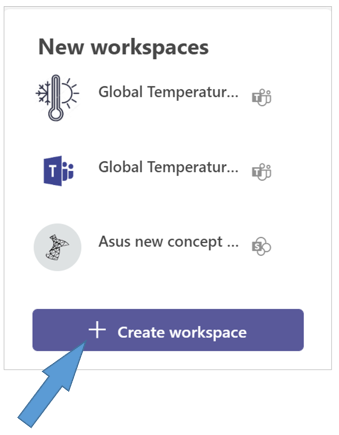
The Create New Workspace form opens:
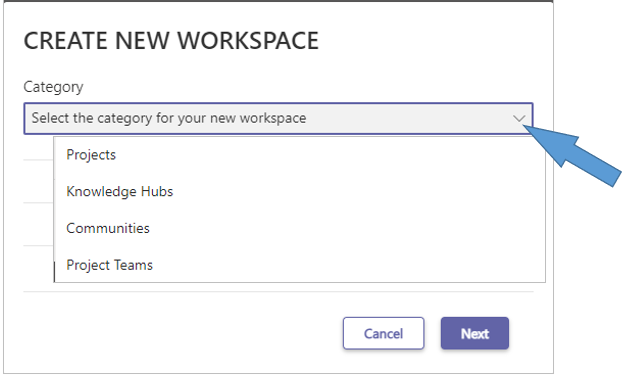
-
Category - Select the workspace category in which you wish to create the new workspace.
Workspace categories for which you do not have a request or create permission will not be offered in the selection list. -
Click Next.
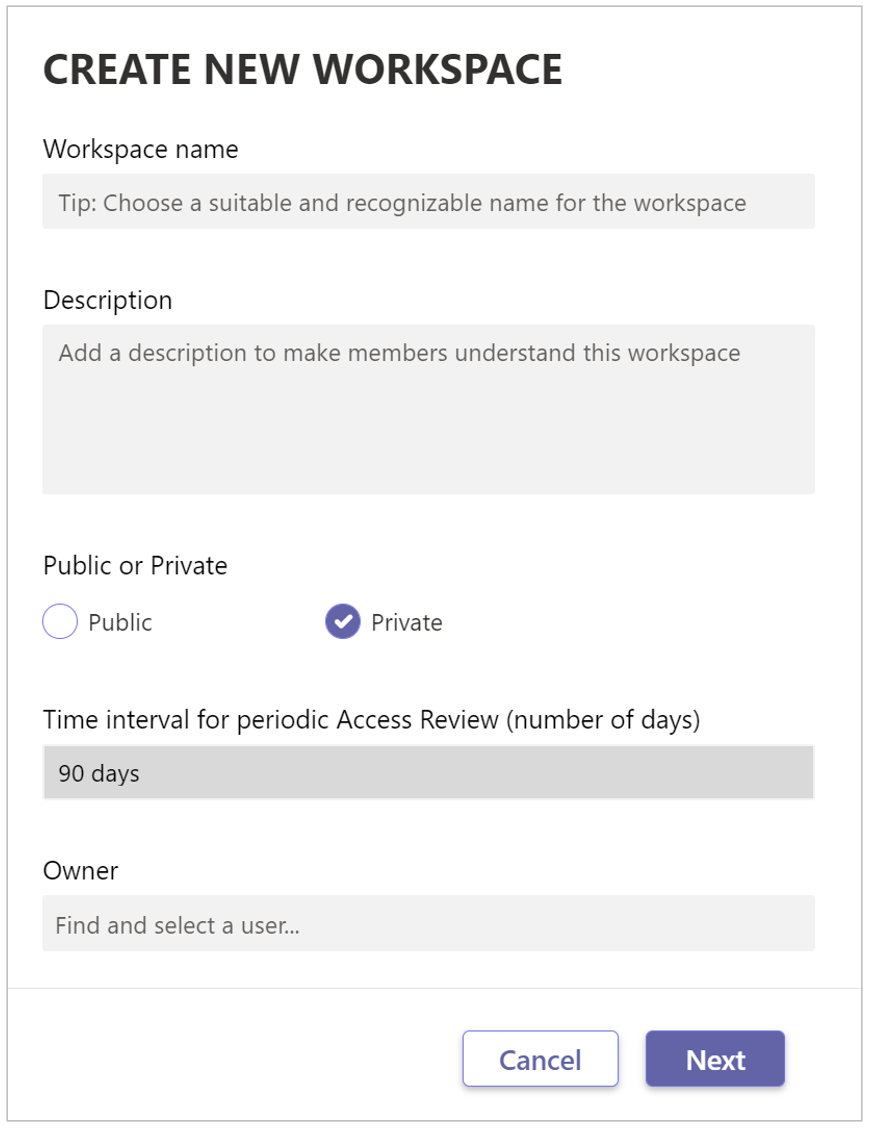
-
Workspace name - Enter the title for the new workspace.
-
Description - Optionally, provide a description for the purpose of the new workspace. PortalTalk's search functionality also searches within the text entered here.
-
Metadata - If specific metadata applies to the workspace category, you can enter the values for your new workspace in the following fields.
-
Public or Private – Specify whether the new workspace should be accessible to the entire organization (Public) or to team members only (Private).
-
Owner - Select a user to be the owner of the new workspace.
-
Click Next.
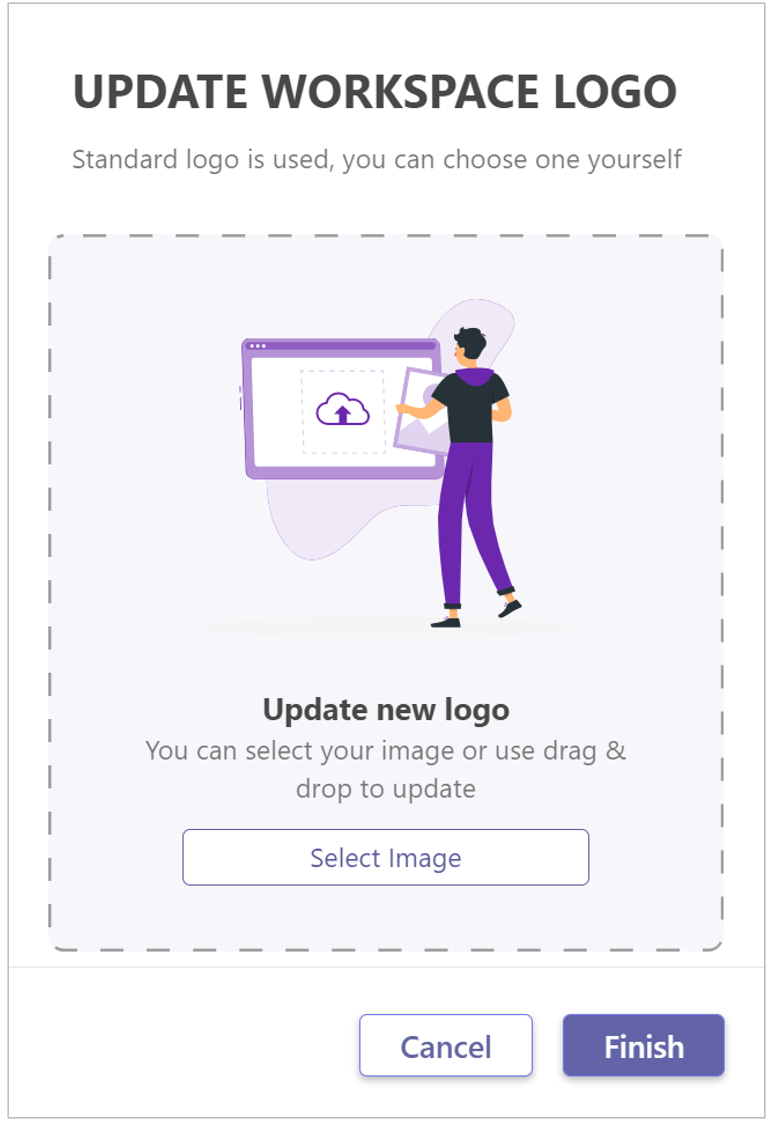
-
Update new logo - Upload (or drag and drop) an image as the logo for the new workspace. This can also be done at a later date by the workspace's owner.
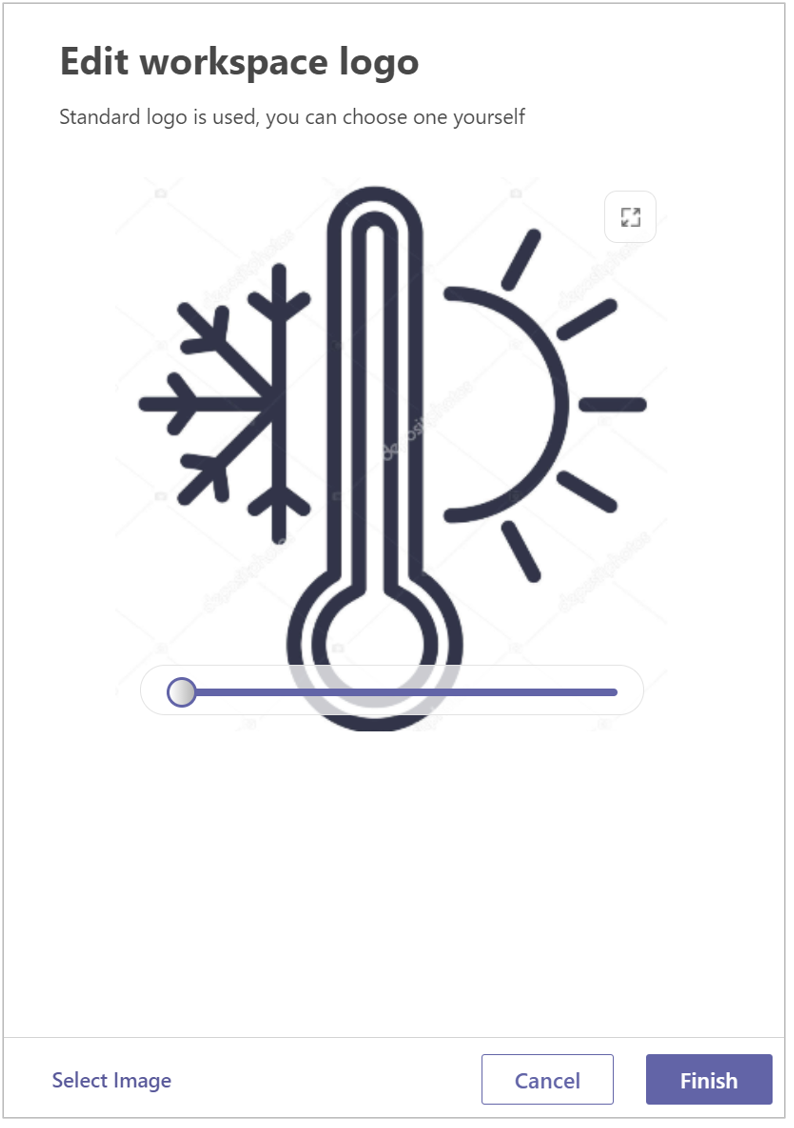
-
Crop the image if necessary and click Finish.
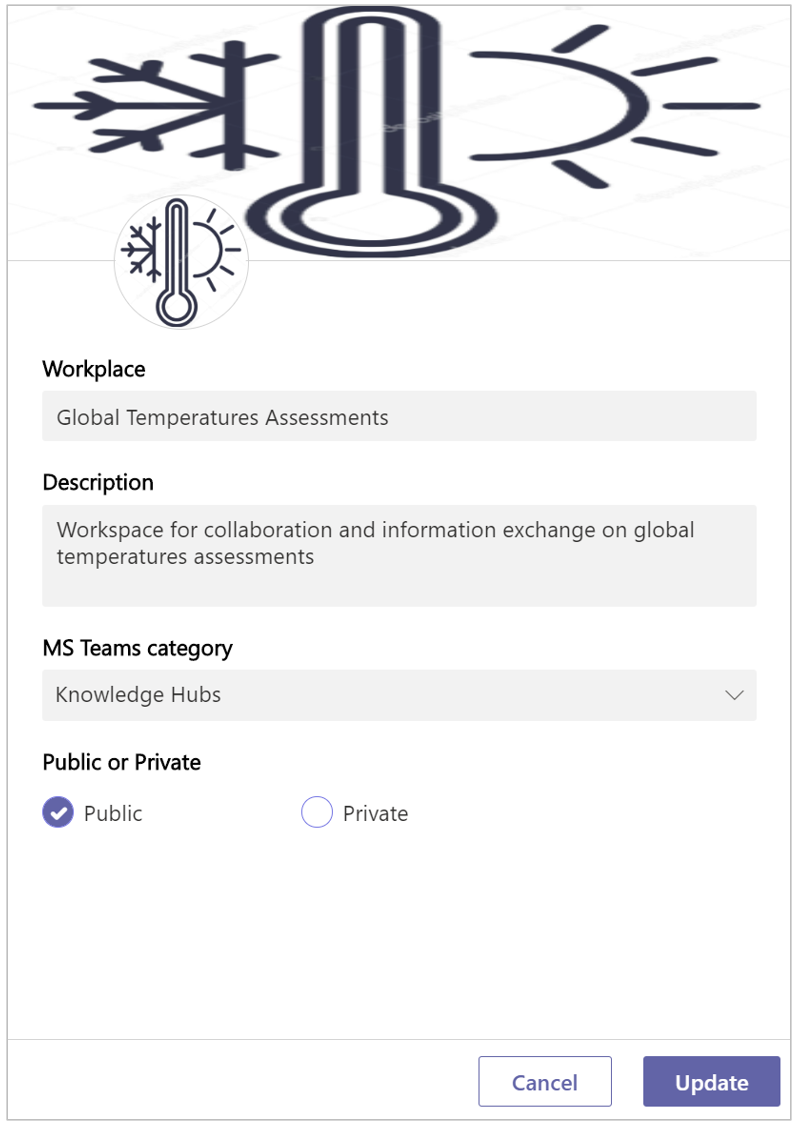
-
Click Update.
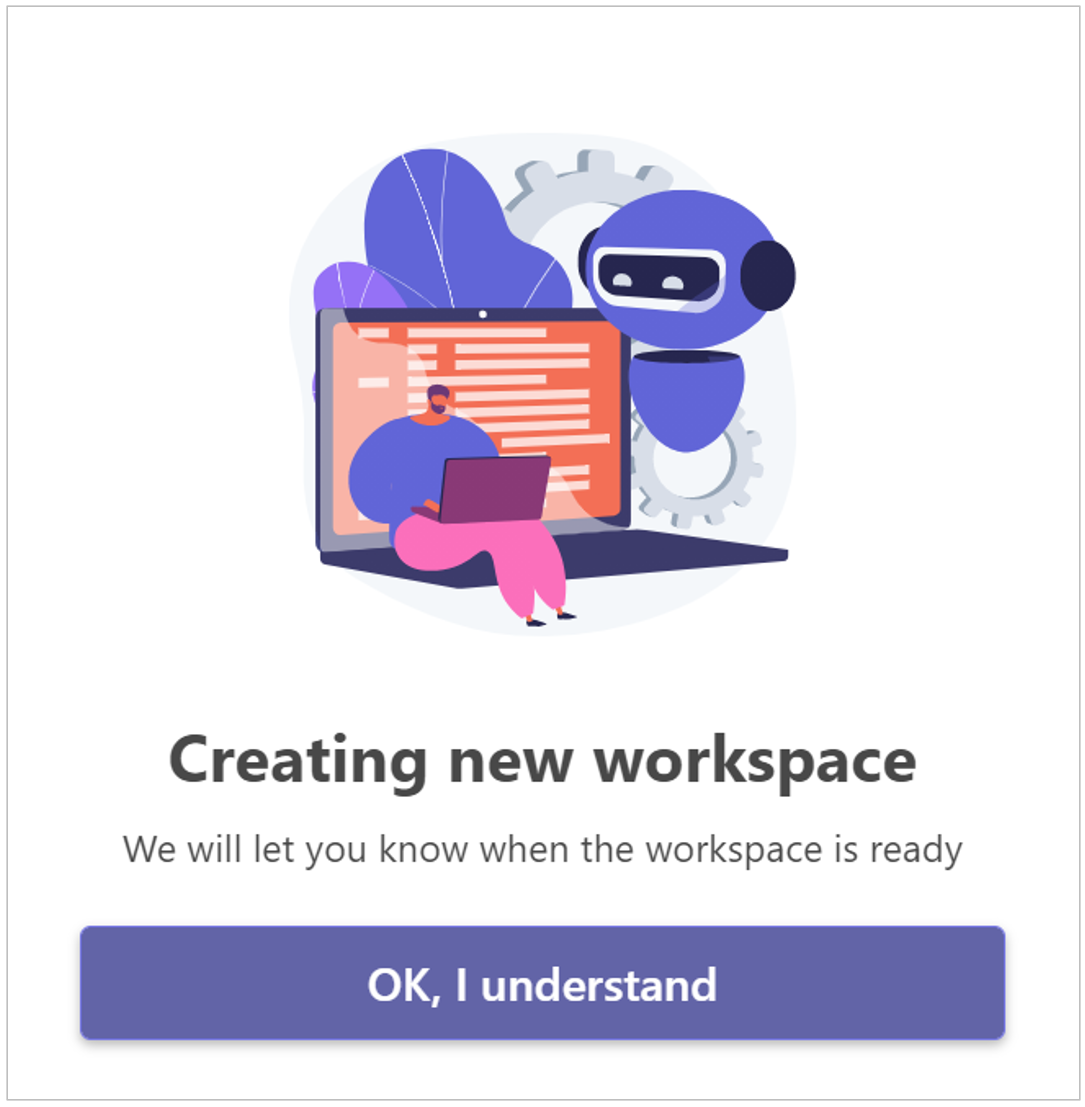
The new workspace is created.

The choices you have made when creating the workspace can be modified later by a workspace owner.
Create a workspace from the workspace category
-
In the navigation panel, click on the relevant category in which you want to create a new workspace, for example 'Knowledge Hubs'.
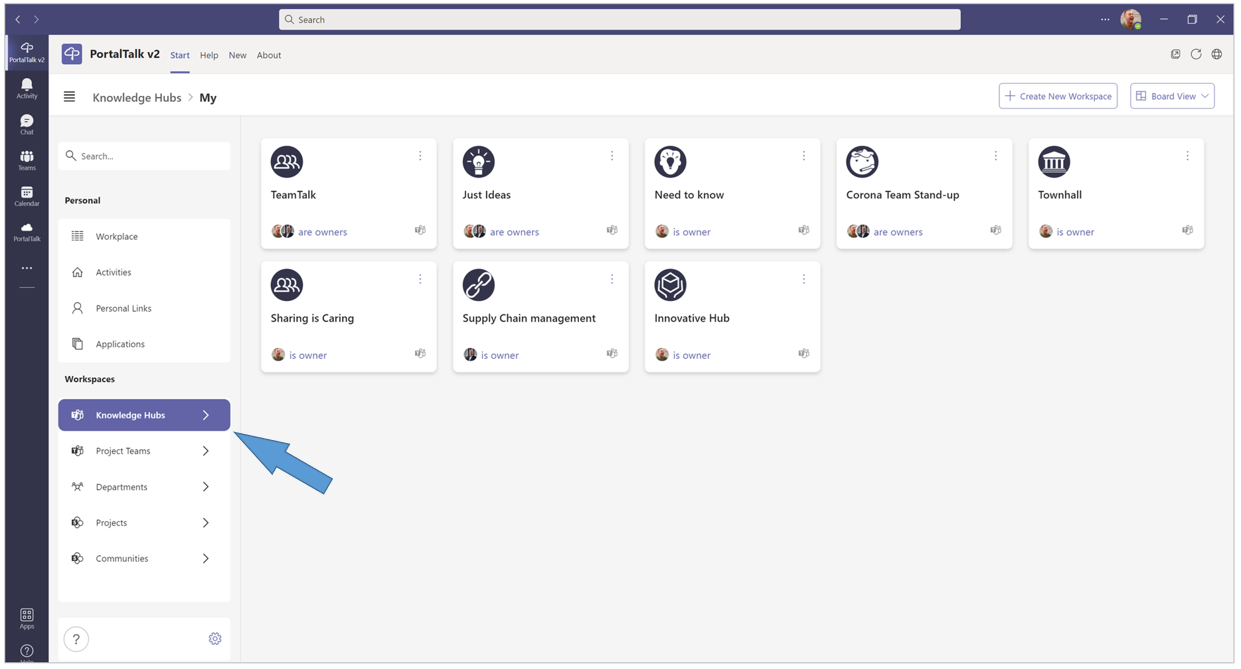
-
Click the toolbar option +Create New Workspace.
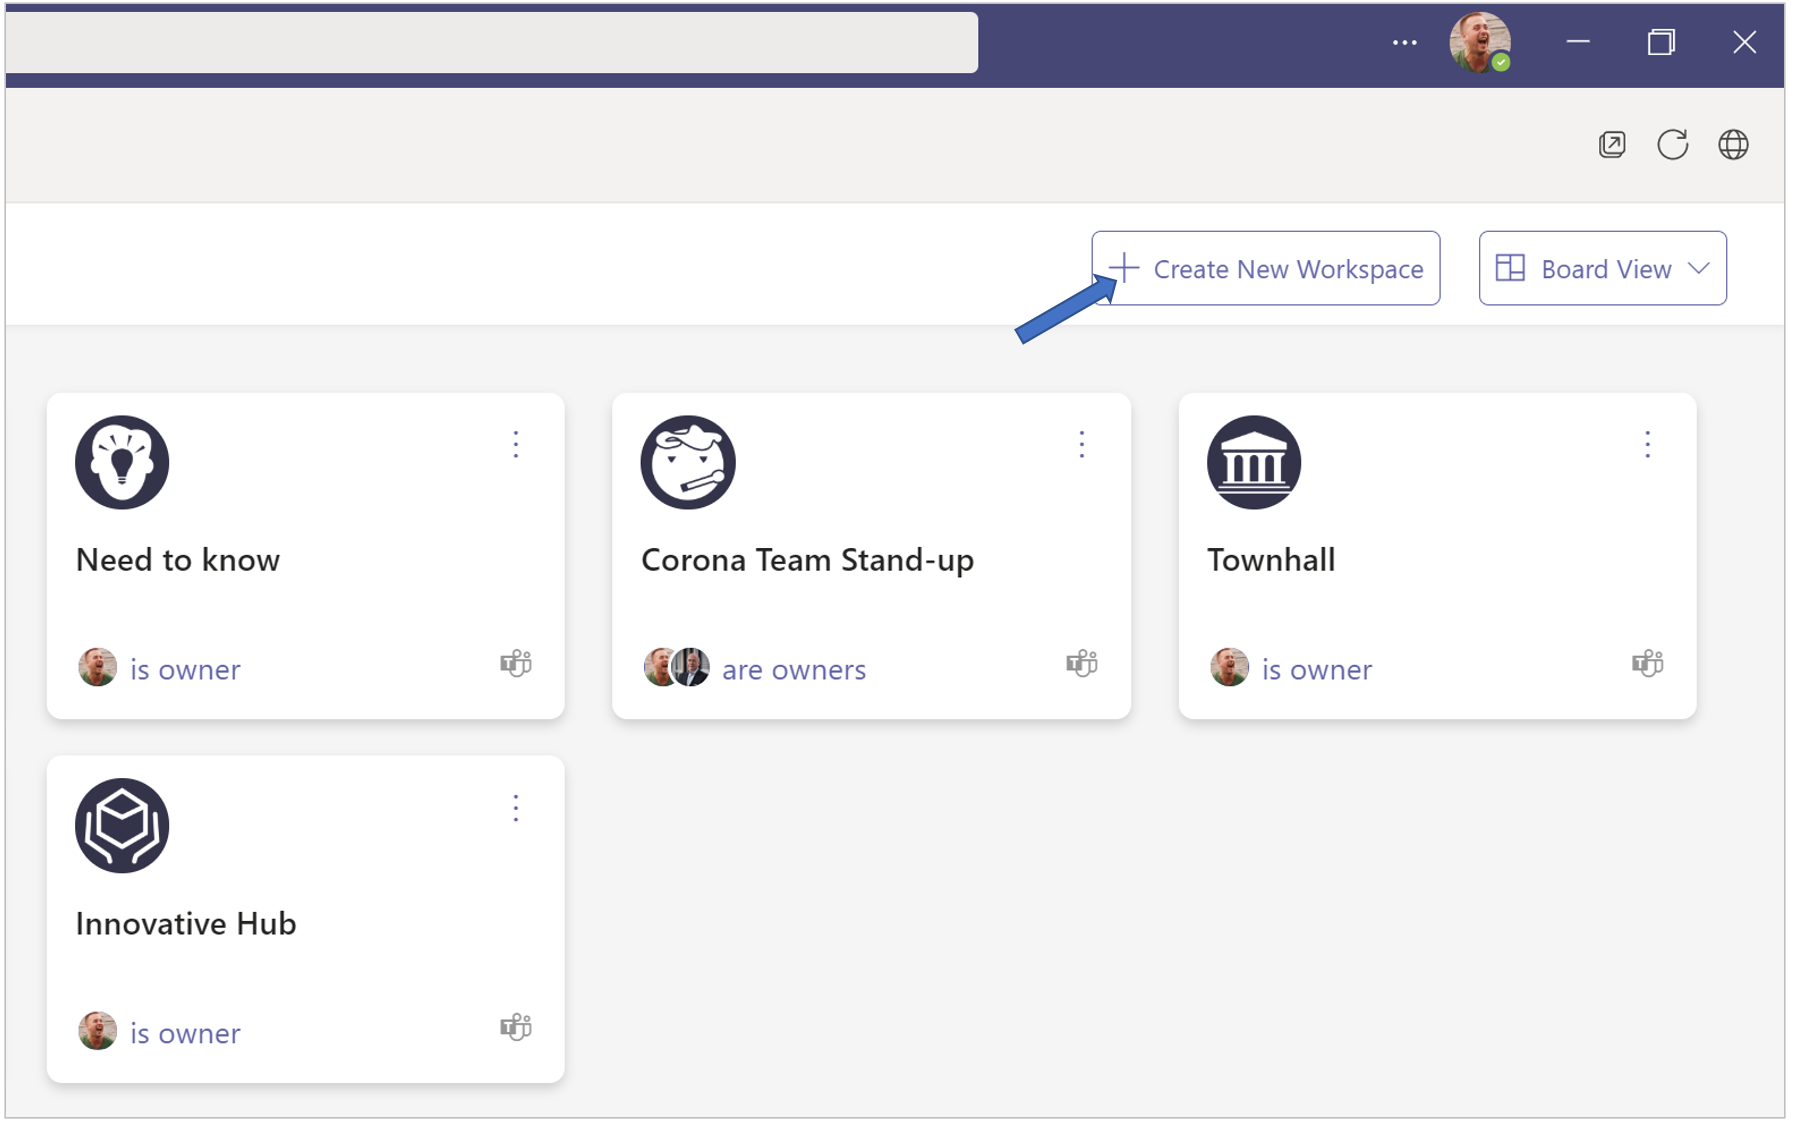
The Create New Workspace form is displayed:
For the subsequent actions you can adhere to the instructions for creating a workspace from your activities dashboard.